In my last article I created a simple Canvas workpad in my Kibana. To do so I already had meetup data indexed in my Elastic instance. Today I am going to tell you how I did gather data and added it to Elasticsearch.
Selecting meetups I want to track
The first thing to do is to select a list of meetup groups you want to keep track of. There are many ways to do that using the Meetup API. For instance, you can search to similar groups using the similar_groups endpoint. I let you read the API documentation to find a way to select the events you will track. You just need to format the response to extract the cities and the names of the Meetups groups in a JSON file formatted as follows:
{
  "City name 1": [
    "meetup group name 1",
    "meetup group name 2",
    ...
  ],
  "City name 2": [
    "meetup group name 1",
    ...
  ]
}
Getting data about meetup events
Once you have this, you can use the node.js application we created. Of course it has the Elasticsearch dependency in package.json. You are strongly invited to check out the source code at this point. You can see in the index.js many parts of interest:
- The creation of an express server listening on port 8080. We need it, so Clever Cloud will know our app is up running.
app.get('/', (req, res) => {
    res.send('Hello !');
});
app.listen(8080, () => console.log('Listening on port 8080!'));
- The meetup API call:
axios.get(`https://api.meetup.com/${meetupName}/events/?status=past,upcoming\&fields=comment_count`)
- the creation of Elasticsearch indexes:
await client.indices.create({
  index: "meetup",
  body : {
    "mappings": {
      "properties": {
        "time":  {"type": "date", "format": "epoch_millis"},
        "group.name": {"type": "keyword"},
        "yes_rsvp_count" : {"type": "integer"},
        "grouploc": {"type": "geo_point"},
        "venueloc":{"type": "geo_point"}
      }
    }
  }
});
- The creation of another server where our meetup API calls happen, listening on port 8081. We can also notice that we've restricted our server to allow only localhost connections.
localapp.listen(8081, 'localhost', function() {
  console.log("... port %d in %s mode", 8081, localapp.settings.env);
Now in ./clevercloud/cron.json you can notice a cron task, wich will trigger a curl on http://localhost:8081/ every night at 1 AM:
"0 1 * * * /usr/host/bin/curl http://localhost:8081/"
It is this cron that will call our second server to trigger the meetup API calls.
True fact: to use it in its current version, you must keep your application running all the time for one hour of usage maximum. A way to improve the application regarding this issue would be to implement authentication to our application, so we still are the only one having access.
Then remove the cron from this project to have it running in your main application instead. Your main application will be the one consuming this indexed data. Taking advantage on the fact that every virtual machine running on Clever Cloud already has the Clever Tools CLI installed, we could improve our cron to start the application for an hour then stop it when it has finished its indexation job.
So you will end up with two machines, one with your main application, and the second one running for one hour each night.
We must also know that Clever Cloud does not monitor what's going on on port 8081. You could add a logging system or use Elastic APM to monitor your application during its execution time.
This is an approach among many others, do not hesitate to talk with us about your own implementation.
Okay, let's go back to our main goal, and to do so, you can use our sample data meetup list or use your own by replacing the json in the meetups.jsonfile.
Try it out
You can $ git clone the repo in your console, and go into your Clever Cloud console.
Under the organization of your choice, select New, Application, Node. When prompted if you need add-ons, select Elastic Stack, select the plan you need and enable Kibana as an option.
In the environment variables menu of your application, add NODE_ENV=production and add the provided clever remote to your local git folder. Then push using git push -u clever master.
Your deployment will start and thanks to the ES_ADDON_URI we provided in our index.js file, we have nothing else to configure, our application will start sending data to elastic.
Visualize your data and go further
Either in your Kibana or Elastic instance menu in the Clever Cloud console, in the information page you will find a Open Kibana button. Click it and login using your Clever Cloud credentials.
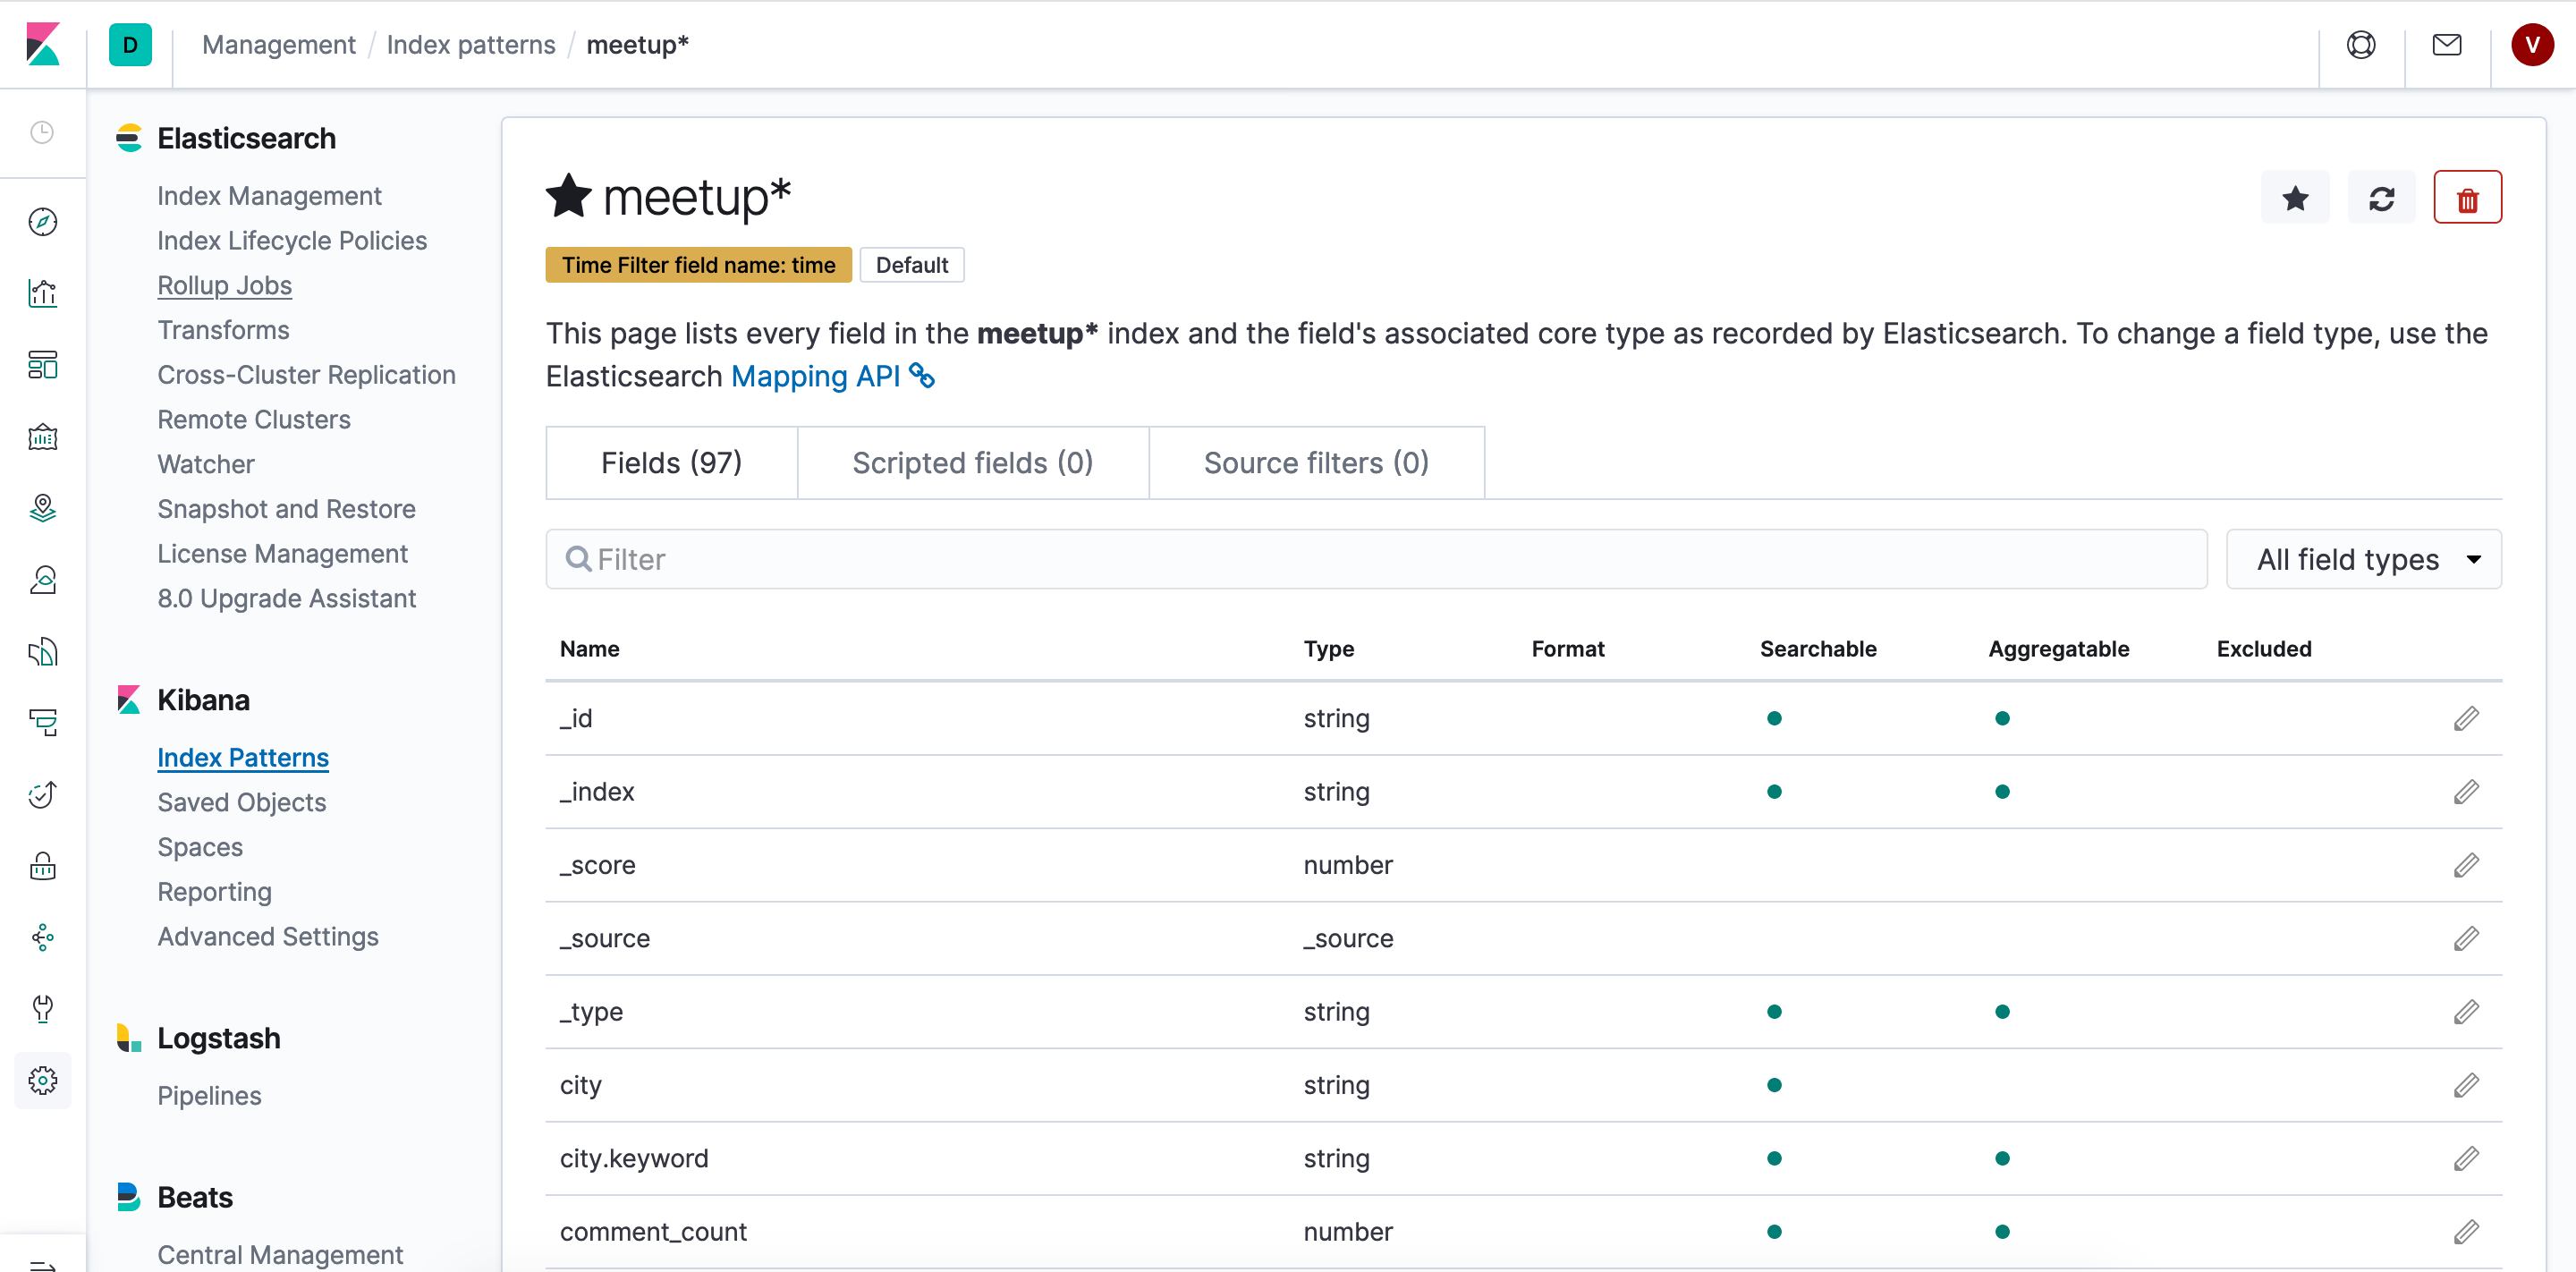
Into Kibana click on the Management (gear) icon in the left side menu. Under the Kibana title, select Index Patterns, then meetup* to see how the data is indexed.

Of course at this point, you are able to do the exact same as I did in the previous article video.
Here is the ElasticSQL query I used in the Canvas demonstration:
SELECT AVG("yes_rsvp_count") AS average, "group.name" FROM "meetup*"
GROUP BY "group.name"
ORDER BY average DESC
LIMIT 5
Happy indexing!


