


In this tutorial we are going to install the latest version of RubyOnRails and deploy it on Clever Cloud to use it as a development environment.
Prerequisites
This article presumes you already are a RubyOnRails developer. If you are not and want to learn RubyOnRails, start here with the official documentation.
From the technical point of view, I presume you already have an installed ruby version >= 2.5.0 and a version of rubygems >= 1.8.11.
I also assume you know what Clever Cloud is. If you don’t you maybe want to read this first.
Rails local installation
In your favorite terminal type $ gem install rails --pre. Of course you can install any rails version you would like to use with $ gem install rails -v X.X.X.
After the installation logs, type in $ rails new <your_project_name> then $ cd <your_project_name>.
From now I will always assume your are currently located at this path in your terminal.
Super fast version
If you prefer to read the docs, here is all you need:
- Deploying ruby on rails application.
- Docs for PostgreSQL add-on.
- Docs for FSBuckets filestystems(optional).
- Docs for the clever-tools CLI.
Step by step version
Get your app ready for production
Database settings
With your favorite text editor open ./config/database.yml. Replace the generated content at default: &default with
default: &default
  adapter: postgresql
  encoding: unicode
  timeout: 5000
do the same with what’s under production: with
production:
  <<: *default
  database: <%= ENV['POSTGRESQL_ADDON_DB'] %>
  username: <%= ENV['POSTGRESQL_ADDON_USER'] %>
  password: <%= ENV['POSTGRESQL_ADDON_PASSWORD'] %>
  host: <%= ENV['POSTGRESQL_ADDON_HOST'] %>
  port: <%= ENV['POSTGRESQL_ADDON_PORT'] %>
Save the file.
Dependencies settings
Open ./Gemfile with your text editor and replace
# Use sqlite3 as the database for Active Record
gem 'sqlite3', '~> 1.4'
with
# Use postgresql as the database for Active Record
gem 'pg'
and save the file. Run $ bundle install to have Gemfile.lock updated.
Deployment orchestration settings
In your terminal create a new folder $ mkdir clevercloud
create a new file $ touch clevercloud/ruby.json.
Open the new file ./clevercloud/ruby.json with a text editor and add the following
{
  "deploy" : {
    "rakegoals": ["db:migrate", "assets:precompile"],
    "static": "/public"
  }
}
Don’t forget to commit your file and push it.
Clever Cloud configuration
I don’t have an account
Simply sign up here. You will get an email for email address validation. Just click the link, you will be redirected to the Clever Cloud console with your free credits unlocked.
Jump to Creating the application section and skip the login part.
I have an account
Go to the Clever Cloud console and log in.
Creating the application
You are now logged in the Clever Cloud console. Under your organisation select + Create, on the next screen click Brand new app.
Select the Ruby language, click Edit and select the CPU size you need. I would suggest for a dev environment you select the smallest one and scale when you need more resources. Finish editing this part with Next.
Name your application in the following screen, for next references to that name, I will use <your_application_name>. Add a little description if you want to. Select your deployment zone (where the code will be physically hosted) and finish this section with next.
Database setup
On the next screen, scroll until you find PostgreSQL and select this add-on. Select the database size you need and click Next in the bottom right. Name your database and select the same location as the one you picked for your ruby application.
Setting environment variables
In the following screen you see an interface to add additional environment variables. Don’t change or erase those already set up, unless you know what you are doing and why you need to do so.
SECRET_KEY_BASE
In your terminal generate a secret key with $ rake secret. Copy the key you obtained and paste it in the Clever Cloud console as an environment variable value under those already present. As a name, use SECREY_KEY_BASE and click ADD.
RUBY_VERSION
Check if a ruby version is specified with $ cat ./Gemfile. If so click Next and go straight to the next chapter.
If not use your ruby version manager to check the current version. E.g with rvm: $ rvm current Output: $ ruby-2.6.0 So in the environment variables editor add RUBY_VERSION as name, and in this case 2.6.0 as value. Click ADD, then Next.
I need a filesystem
Click on the left panel on + Create and this time, select an add-on, and scroll until you find FS Bucket. Just click Next on the following screen. A list of your applications will be displayed. Link it with <your_application_name>. Select Next again, and now, name your Bucket and select the same deployment zone as for your application and database. Next.
Deploying the application!
We will use the Clever Cloud CLI for that.
The Clever Cloud CLI
most common installations:
npm: $ npm install -g clever-tools
brew: $ brew install CleverCloud/homebrew-tap/clever-tools
linux:
$ curl https://clever-tools.cellar.services.clever-cloud.com/releases/latest/clever-tools-latest_linux.tar.gz
$ tar xvzf clever-tools-latest_linux.tar.gz
$ cp clever-tools-latest_linux/clever ~/.local/bin/
For extended informations, check out this guide.
Once the CLI is installed, login with $ clever login. A browser page will open. Enter your Clever Cloud account’s credentials and go back to your terminal.
Link your application with $ clever link <your_application_name>.
If for some reason you have $ [ERROR] Application not found as an output, in the Clever Cloud console go in <your_application_name> and select the Information menu.
Copy the value of Application ID and in your terminal now type $ clever link <the value of Application ID>.
I have a filesystem (only if you have followed #I need a filesystem)
Go in the Clever Cloud console, and find the Informations page of the File System Bucket you previously created.
Copy the first environment variable displayed, it should look as follows:
CC_FS_BUCKET=/some/empty/folder:bucket-your-bucket-id-fsbucket.services.clever-cloud.com.
Split it in two variables like: CC_FS_BUCKET and replace /some/empty/folder with /public/bucket.
You will end up with something like /public/bucket:bucket-your-bucket-id-fsbucket.services.clever-cloud.com.
Now type in your terminal $ clever env set CC_FS_BUCKET /public/bucket:bucket-your-bucket-id-fsbucket.services.clever-cloud.com.
Deployment
Just write in your terminal $ clever deploy. From that point, you will see your deployment logs in your terminal and will be able to see them in your Clever Cloud console in your browser. Visit your application with $ clever open once deployment phase is completed.
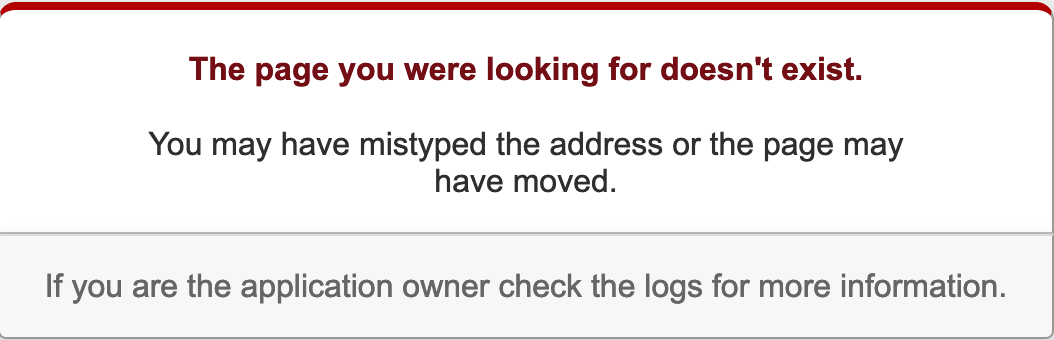
Of course you will see a screen like this on the first time you connect to your application. It’s because there are no URLs generated in our config/routes.rb at this point.
Happy coding!
You definitely can use this fresh template as a development environment. Here is a little extra if you don’t know how to keep your commits clean while deploying them in pre-production.
My workflow to use Clever Cloud as dev env
- I locally create a git branch with
git checkout -b <my_branch_name>, the name evokes the feature I’ll be working on. - I use TDD as coding methodology (on rails I’d suggest you start with FactoryBot and RSpec) so I code all my tests for the feature, then commit them all on my branch.
- I code my feature and create a new commit.
- I can test on production conditions how the modifications behave by pushing my specific branch to master by doing
$ git push clever my_branch_name:master(you need to push local commits on your branch before). - If I’m not satisfied with the changes I can make new changes, add the files to git then
$ git commit --amendto add the modifications to the last commit without having to make a new one.
This way I can see the changes without having to edit directly on master.
You just need to redeploy your application with $ clever restart to get master back at its original state.